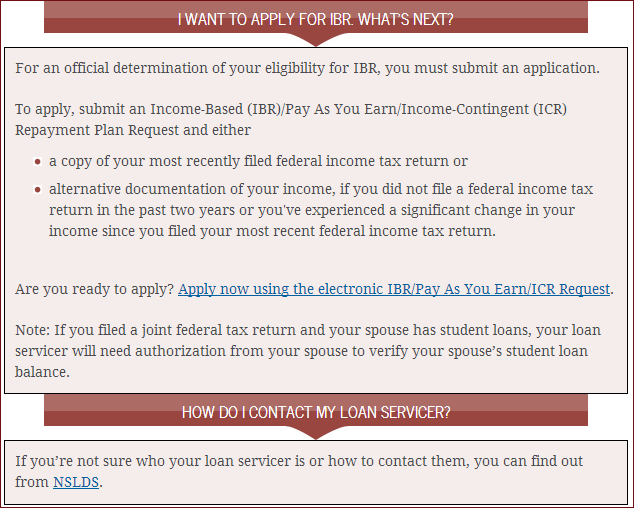
Mike Taylor (@tmiket) recently shared a link to a collection of shortcuts for Articulate Storyline. (You can register as a member of the Articulate community at no charge and then download the shortcuts.)
I liked the look of the guide to keyboard shortcuts and asked Mike if I could include it in the collection here.

About this job aid
I see this as a reference job aid — one intended to organize information rather than to guide someone through a particular task.
What’s the accomplishment?
Since it’s not designed with a specific task in mind, a reference job aid’s accomplishment is aiding recall. In my opinion, that recall is contextual: I’m trying to remember how to work with text in Storyline–or even more specifically, how to right-align text. Or I want to work with the slide master.
The challenge in creating a reference job aid is to figure out the most useful contexts and group the individual elements accordingly.
Who’s the performer?
Given the general nature of a reference job aid, this collection of keyboard shortcuts is useful for anyone already familiar with Storyline. It might also be useful for someone who’d used similar products like Captivate or Lectora: if I know how to preview my project in Captivate, can I do something like that with Storyline, and if so, how?
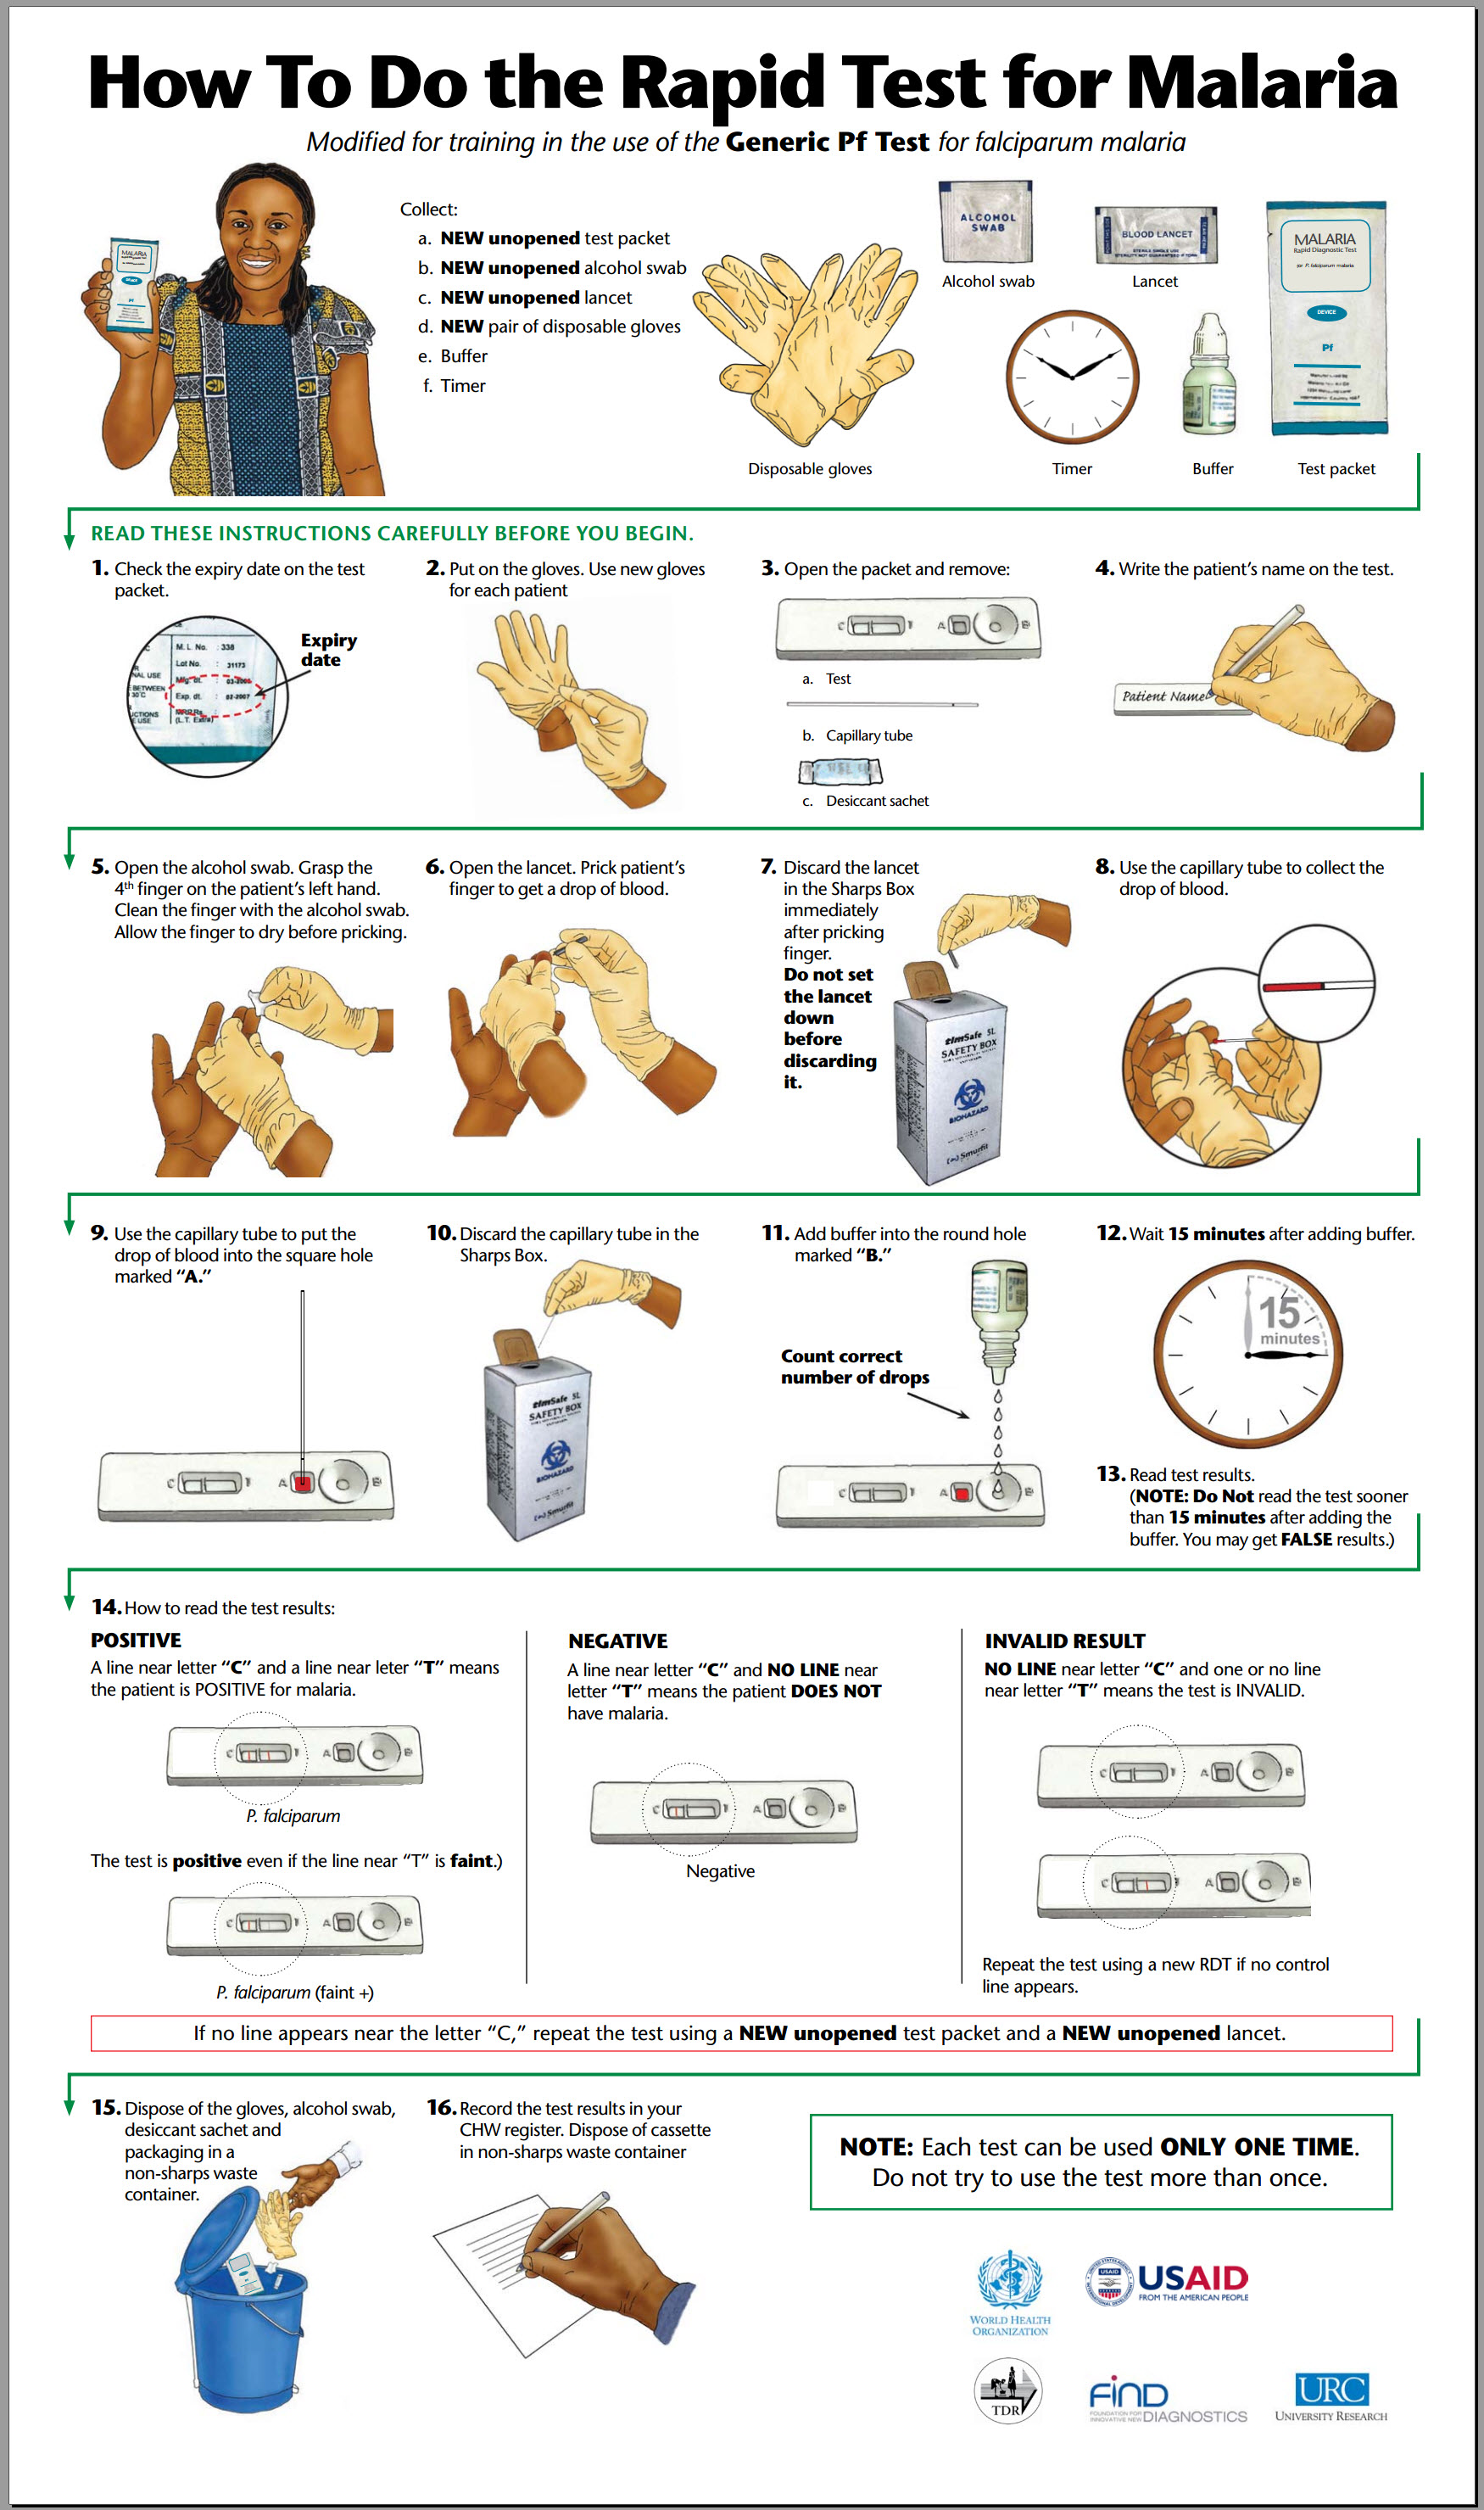
Comments / critique
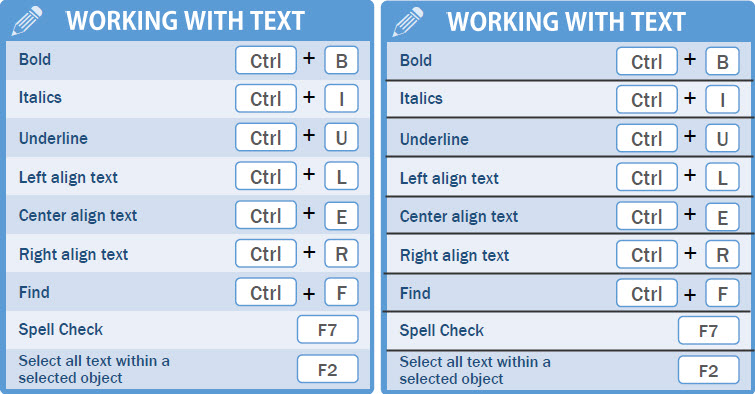
I talked with Mike Taylor a bit via Twitter and email. He said his inspiration “was basically a make over of list of shortcuts that didn’t have any type or logical organization. I tried to group them into categories based on what type of tasks they were related to.”
Notice that the colored groupings don’t depend solely on color for their meaning. Each grouping has a title and a separate icon.
A small but helpful detail: the alternating colored background in each group of shortcuts. Within a group, the individual elements are all single-line items: a description of a function, followed by its key combination. The line-by-line change in shading helps to emphasize individual items, and I think does so less obtrusively than black dividing lines (borders) would.
See if you agree:
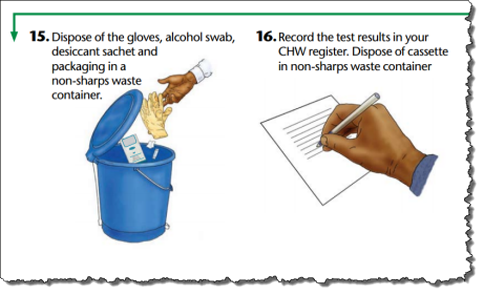
Other stuff
I use a lot of keyboard shortcuts. When I first saw the Storyline job aid, I immediately thought of a somewhat older example that’s been in my collection for years: a quick-reference guide for Borland Sidekick (and probably a lot of other Borland products as well).

In the upper portion of this example, the designer is using what was once called the WordStar diamond. On a QWERTY keyboard, the letters E, D, X, and S form a slightly slanted diamond. Back before people used mice, some power users preferred to keep their fingers on the typing keys rather than the cursor arrows, and so the Ctrl-xx combinations were a way to change the cursor position.
The “outer diamond” was like a turbo boost: Ctrl-D shifted you one character to the right; Ctrl-F shifted you one word.
Notice also the block commands in the lower right, which harken back to MicroPro’s WordStar and probably to programs before that. It seems clear to me that Ctrl-K-C (“copy the currently marked block”) and Ctrl-K-V (“move the currently marked block to where the cursor is”) are direct ancestors of Ctrl-C and Ctrl-V today, though Ctrl-K-Y (“delete”) became Ctrl-X.
I’m grateful to Mike for sharing this job aid. He’s generous with his time and his ideas, as you’ll see at his blog and at Work Smarter, Not Harder, his collection of tips.